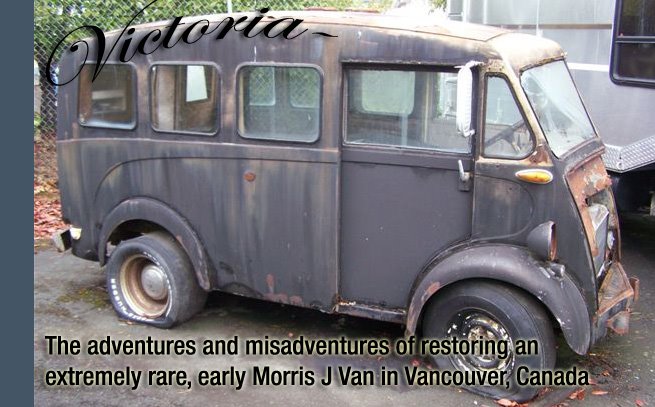
I have neglected this blog for a while and that's been
because not too much has happened in the past few weeks. Well, more accurately
there's been a lot of sanding. I like sanding. I don't like painting. But
sanding is like a dusty form of yoga -- you get a good body stretch out of it.
I'm sanding with 320 grit right now, and it's amazingly fine. Still, we're
going to hit it with 500 before it goes to paint. Still haven't locked on a
final paint scheme.
I received a seat from Kelly Ashton and I'm working on that.
When I started removing the upholstery from the seat, this stuff that looked
like dog shit or tar heroin was underneath. It thin it’s what happens to some
types of foam over years. It was weird for a while. It came in a big cardboard package. When I got home from work my 3 year old goes, "It's parts for you car..." Amazing considering nobody told her. She was with the baby sitter, and the sitter doesn't know about the van.
Overall the seat needs some
TLC. It’s already been sandblasted. I cannot figure out how the back upholstery
works. What are all these holes for? (see arrows) Also, I don’t think that the
wood frame that supports the seat bottom is correct. I think the original seat
was pleated and didn’t have a taper as it went aft. Anyone? I missed out on
some pocket door covers on eBay. That’s the final bit I’m missing. The side doors fiasco ended up being a problem with the size and dimension of the rear section of the front wheel arches. It shouldn't have happened, but it did. Oh well. It needs some surgery to remedy. I told Aaron that once that’s done and the doors have been fitted we’ll continue (OK, we'll do the seat, fix the other crap, and then continue).
Remember my earlier posts about what “Victoria” (the city)
was like? Here’s a 1930s film about it: http://www.youtube.com/watch?v=qPpJI_01wjE
Here's another video: http://www.youtube.com/watch?v=aPyQJCNUgYM
I spent maybe a 100 hours looking at different video hoping a J van would come into frame. It never happened.
Here's another video: http://www.youtube.com/watch?v=aPyQJCNUgYM
I spent maybe a 100 hours looking at different video hoping a J van would come into frame. It never happened.


5 comments:
Charlie, my seats (1951) are different. They have a three piece plywood back with different upholstery. I'll try to post up some photos in the next week or so. My foam looks like that though, like it melted over a period of 60 years.
Thanks Tim. Yours is the same as Steve's (blocks away)
Charlie,
Good to hear the seat arrived.
There seems to be no rhyme or reason as to whether the seat squab is pleated on plain; It is possible the unpleated style (which is usually featuring a thicker Dunlopillo cushion) is a common aftermarket feature requested by fleet drivers for more comfort. The pleated style is much thinner and I've seen both styles fitted to early and late models, but the seat backs have always been the pleated style. The wooden seat squab frame with the metal pan for the Dunlopillo cushion is completely original and identical to the other two seats I have. The huge, square hole cut out of the main seat pan supporting the squab is a very common fleet conversion as the battery was often located there. Once you've bent over into the driver's door, worked your body around the seat back and accessed the original battery trapdoor a few times, the more accessible under seat location sounds much more sensible. I don't know what all those extra holes down the side are for. On the two seat backs I have, both have a row of four, small countersunk holes down each side, into which go small, slightly-domed slot head wood screws, while one of the seat backs has only those eight small holes, the other one is just like yours, with four larger holes each side. The look factory to me, although there seems to be no reason for them being there. The five holes in the diamond shape in the middle of the back would be air bleed holes so J Van drivers don't get accused of farting everytime they lean back.
Kelly
Charlie, you will also note that the toolbox/seat base can be used either way, LHD and RHD simply by choosing which way your seat runner tracks are bolted on. Also, the captive nuts on the seat back are 1/4" BSF, as are the little bolts holding the runner tracks to the toolbox. Those bolts are actually hex head set screws, but the 1/4" screws holding the seat back to the seat base feature a slightly domed, countersunk slot head.
Kelly
Thanks Kelly! CG
Post a Comment